

Introduction
The lower third, or chyron, is a graphic overlay that appears on a video broadcast. It typically contains text and sometimes an image or logo. You can think of the small graphics on news broadcasts that display the station logo along with the name of the person speaking or reporting.
For a live broadcast, a lower third is a helpful tool. It can distinguish your broadcast from others while also introducing different elements of your congregation in a clear and professional way.
It’s an element that I believe makes your online worship more accessible. It also creates opportunities to craft a meaningful online experience in creative ways, helping to introduce your church to a broader audience.
While I believe lower thirds add an exciting element to your broadcast, you may feel that implementing them is a daunting task. There are ways to create them in OBS, but the process can be clunky and not very user friendly. Fortunately, this is where OBS plugins come into play.
OBS Plugins and Installation
OBS plugins are a valuable feature of OBS. They allow users to develop and share new tools that enhance the broadcasting experience, and many of these plugins are free. While OBS does provide instructions for installing plugins, not all of them follow the same process. As I introduce each one, I will briefly note any specific quirks or installation steps you should be aware of.
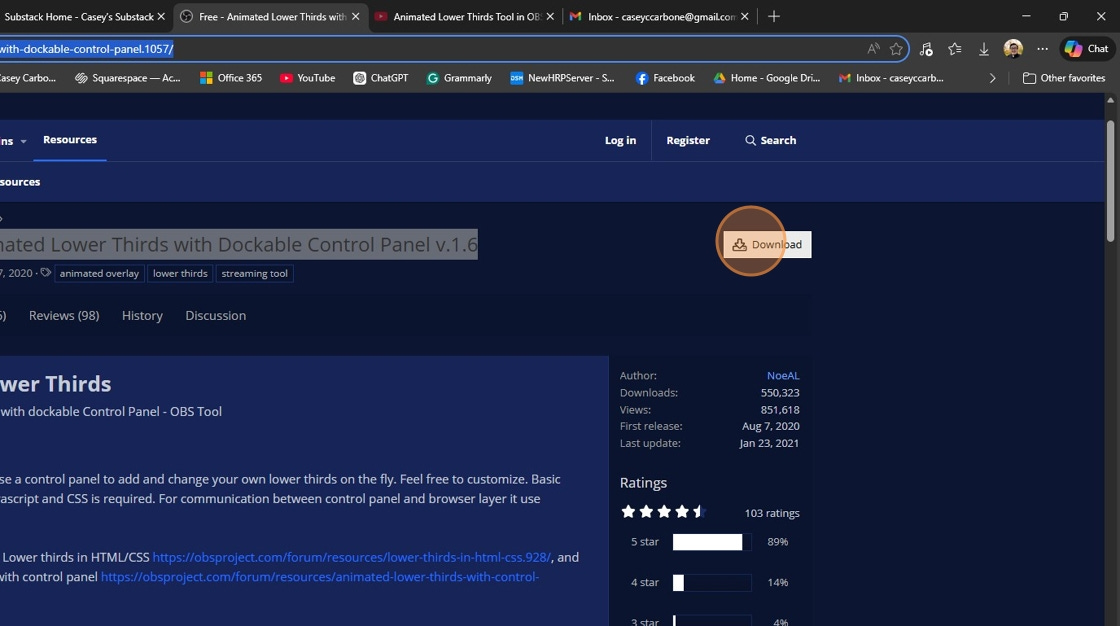
We will begin by downloading the plugin “Animated Lower Thirds with Dockable Control Panel v.1.6.”
Click the download button, then unzip the folder. Move the unzipped folder to your desktop. I recommend creating a new folder to store this plugin along with your other plugins.
The creator of this plugin has provided a helpful follow-along video that you can use to install it. Please note the following corrections, as the video refers to an older version of OBS.
At 0:29, the video shows you clicking on “View” to access “Docks.” In the newest version of OBS, “Docks” appears as its own tab next to “View.”
At 1:40, be sure to delete the default text in “Custom CSS” and check the boxes for “Shutdown source when not visible” and “Refresh browser when scene becomes active.”
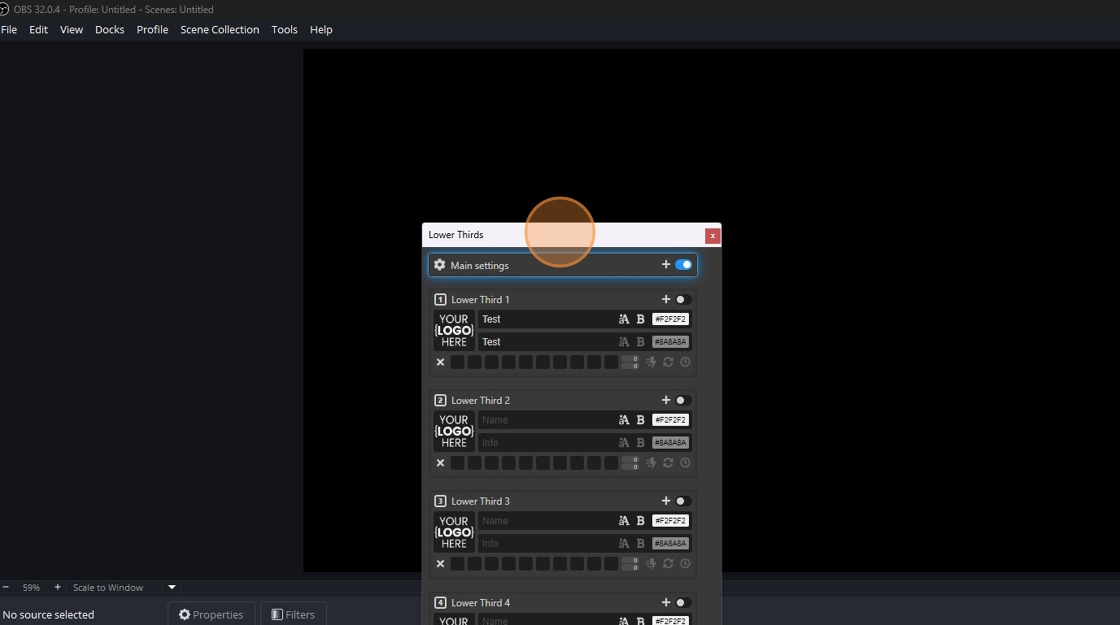
You can click and hold to drag the window.
If you move it to certain areas of the OBS window, you will see that you can “dock” it to give it a place on the screen.
Using the Lower Thirds Plugin
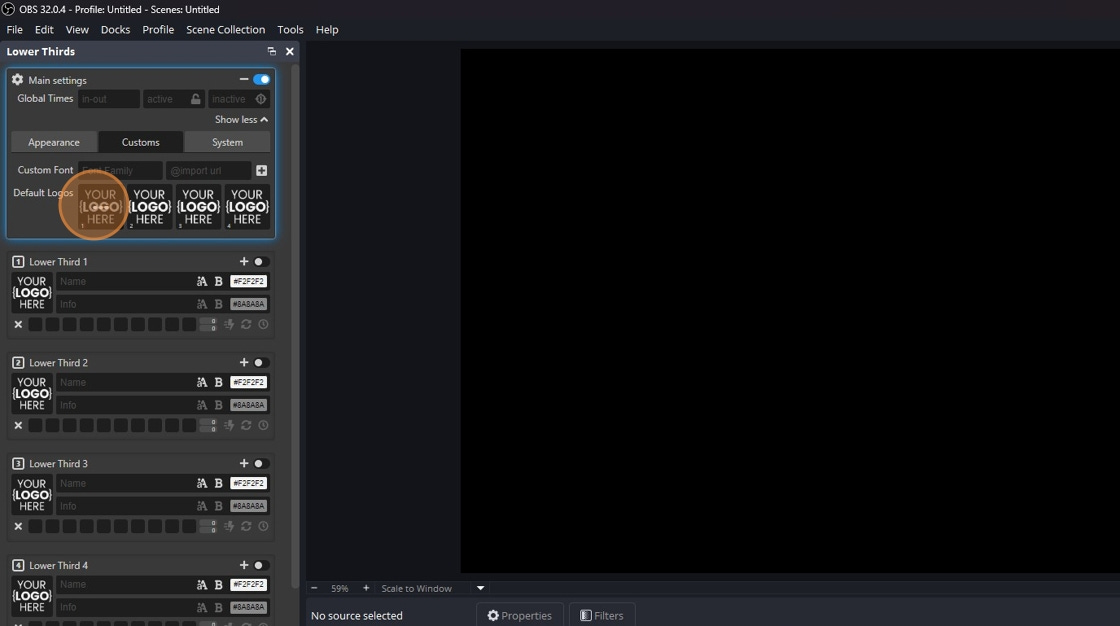
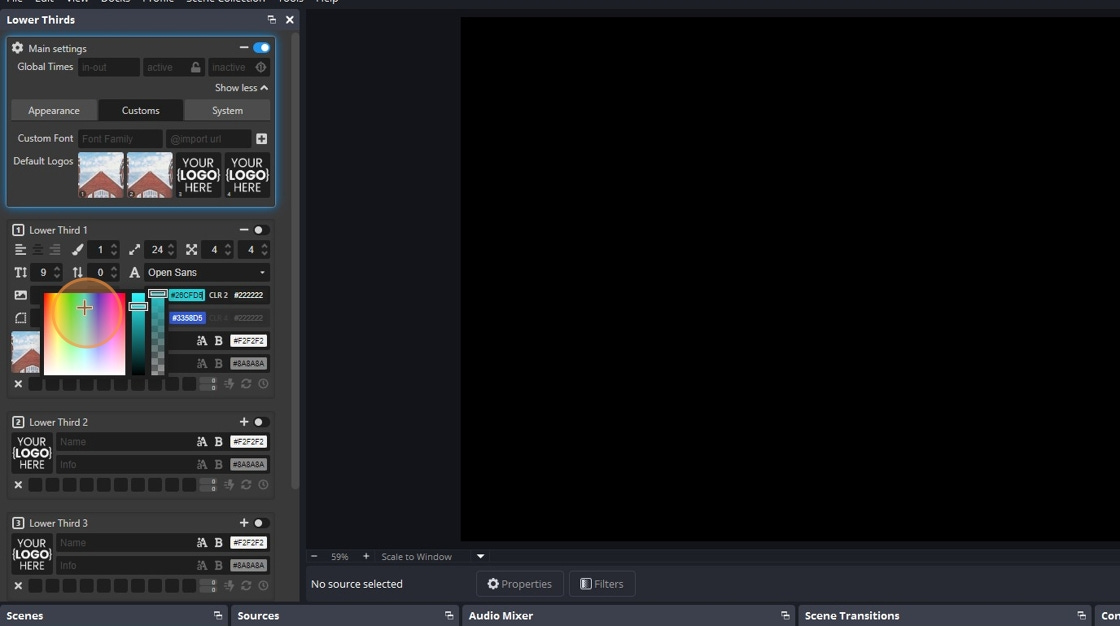
We will first take a look at the “Main Settings.” By default, the “Global Times” should be adequate, but you can adjust them later if needed. Under “Customs,” you can add “Default Logos” to the four preset chyrons. You can either change them here or go to each chyron and add them individually. It is easiest, however, to add them here.
If your church has a logo or square image, add it to the “logos” folder. Do you remember the folder you dragged to your desktop? Click into it, and you should see a subfolder called “logos.” Drag the image or images you want to use into that folder.
Click the three dots in the picture you want to change.

Click “Choose Image.”
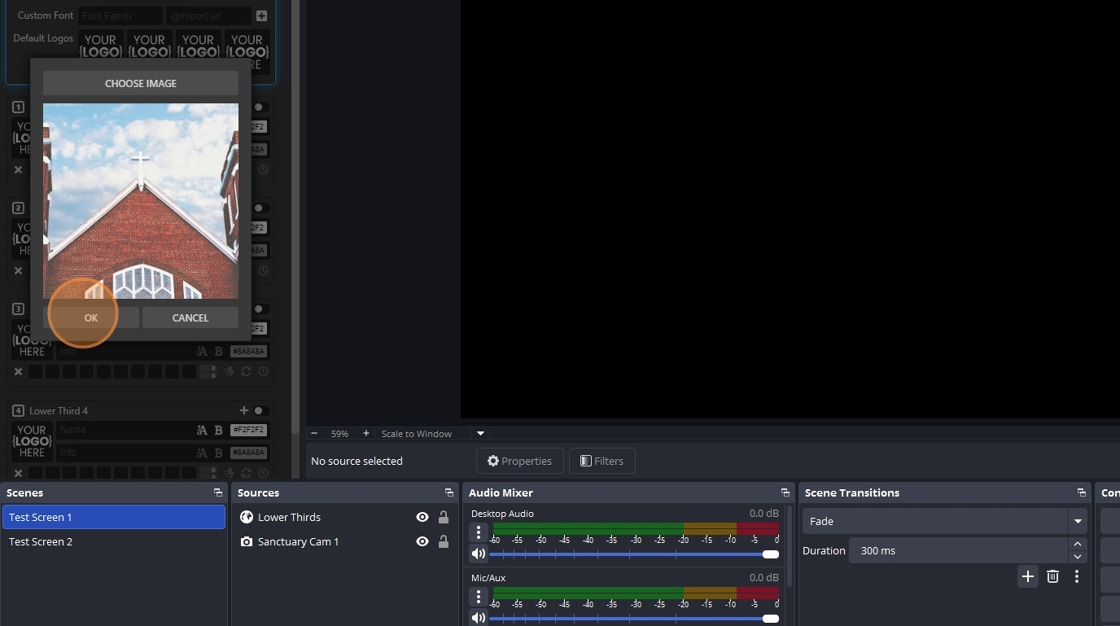
Select your image from the “logos” folder and click “Ok.”
If, for some reason, the “Master Settings” for “Default Logos” do not update the corresponding lower third, you may need to adjust each of the four preset options individually.
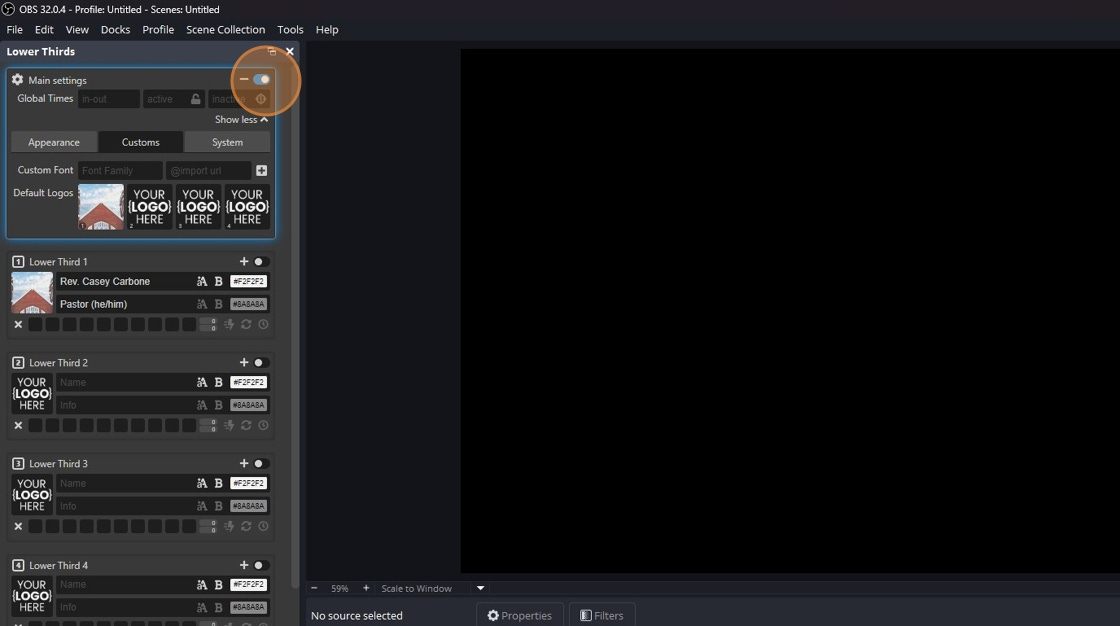
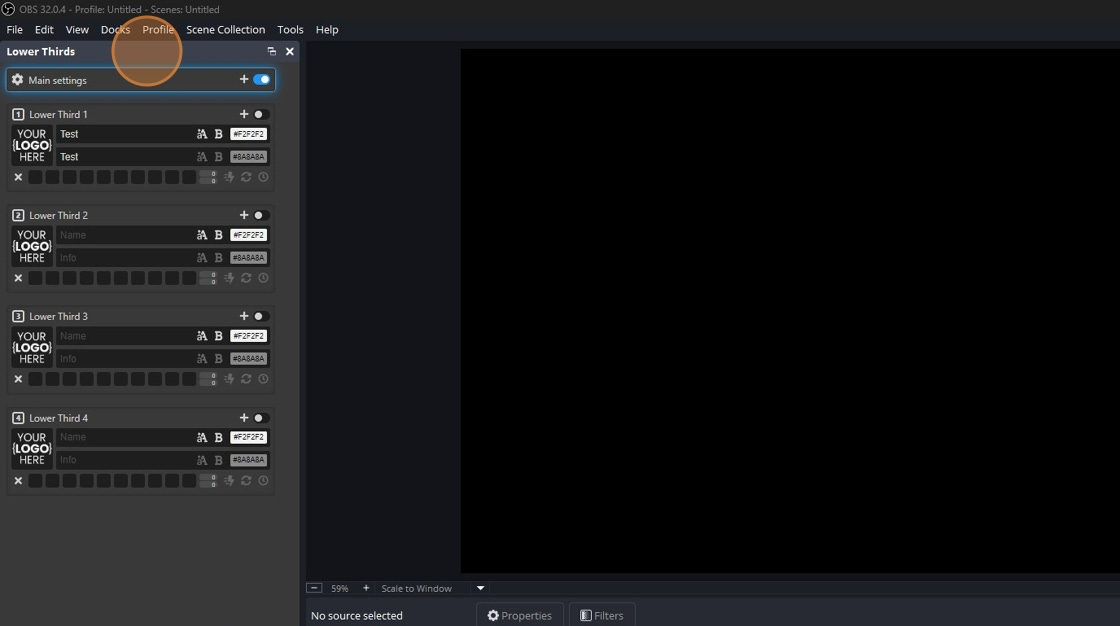
Before moving on, make sure the toggle for “Main Settings” is turned on. You can see what this looks like in the pictures above. The toggle appears blue next to the dash under the “Main Settings” heading in that section. This is important for the plugin to work.
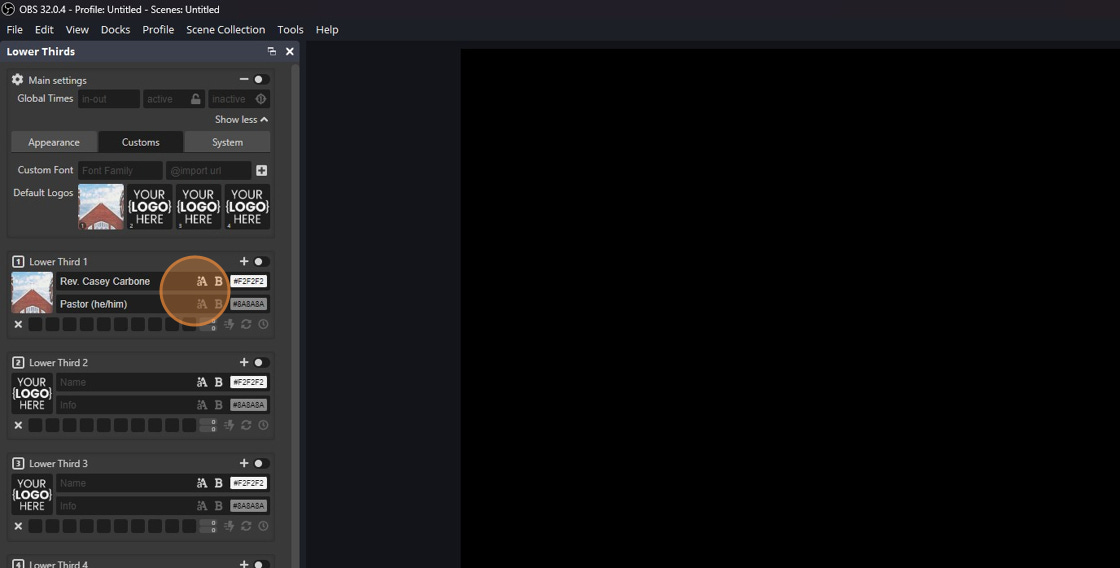
In the sample above, you can see how to input the information.
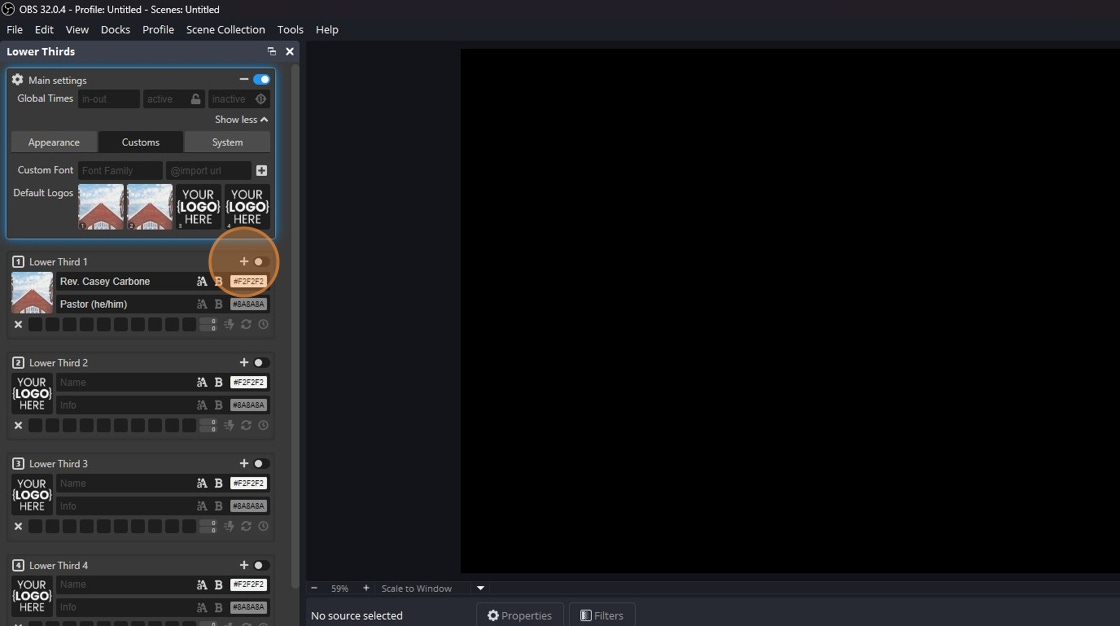
If you click the “+” on a lower third, you can customize the color of the bar, the text, and the size of the lower third.
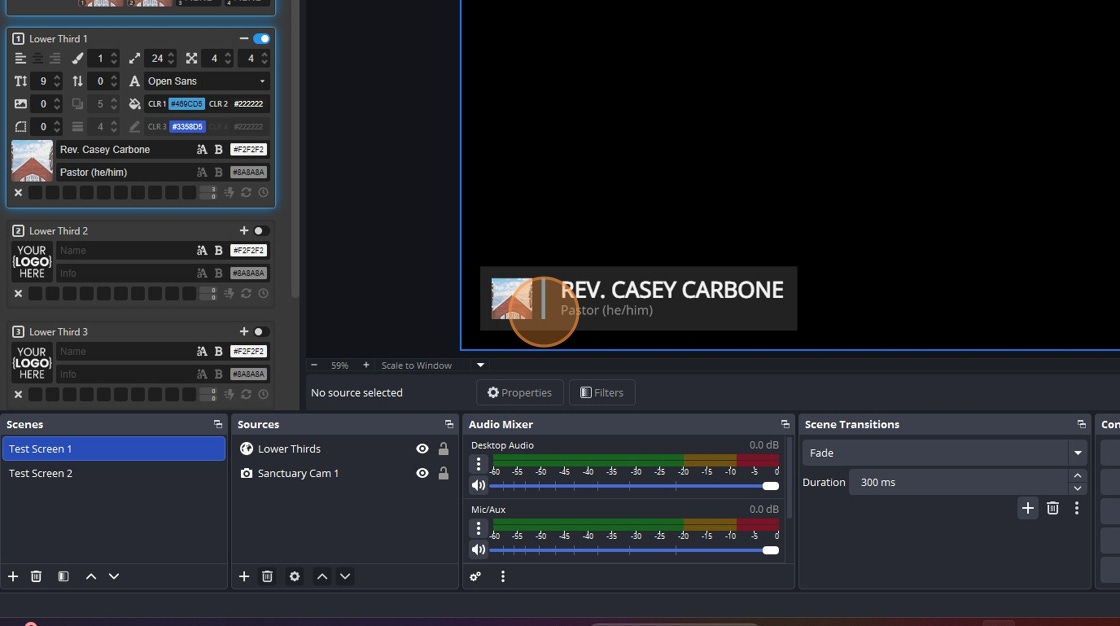
You will see that you can change the color of the primary bar by adjusting “CLR 1.” There is also an option to change “CLR 3,” but after testing this setting, I have not been able to determine what it changes.
Experiment with these lower thirds. They are helpful graphics that prevent first-time viewers from having to guess who is speaking. Make it easier for them by displaying a clear lower third that provides the information needed to get to know you better. You can adjust the default timing settings, or simply toggle them on and off to start and end them before the cycle has finished. Just remember that if you toggle a lower third on and nothing appears, check that the “Main Settings” panel is turned on.
The downside of this plugin is that it offers only four preset options. Depending on how many regular speakers you have in a service, you may need to plan which lower thirds can remain constant and which ones will need to be edited and added as the service progresses. The upside, however, is that once a preset is toggled off, you can update the text and have it ready to display something new without restarting anything.
Additional Use Case
If your church has an online giving portal, you may want to designate one of the four lower thirds as your offering chyron. Following the previous steps, add a QR code in JPG or PNG format to the “logos” folder where you placed your previous logo. For now, place it in “Lower Third 4” using the same steps you used earlier to add an image.
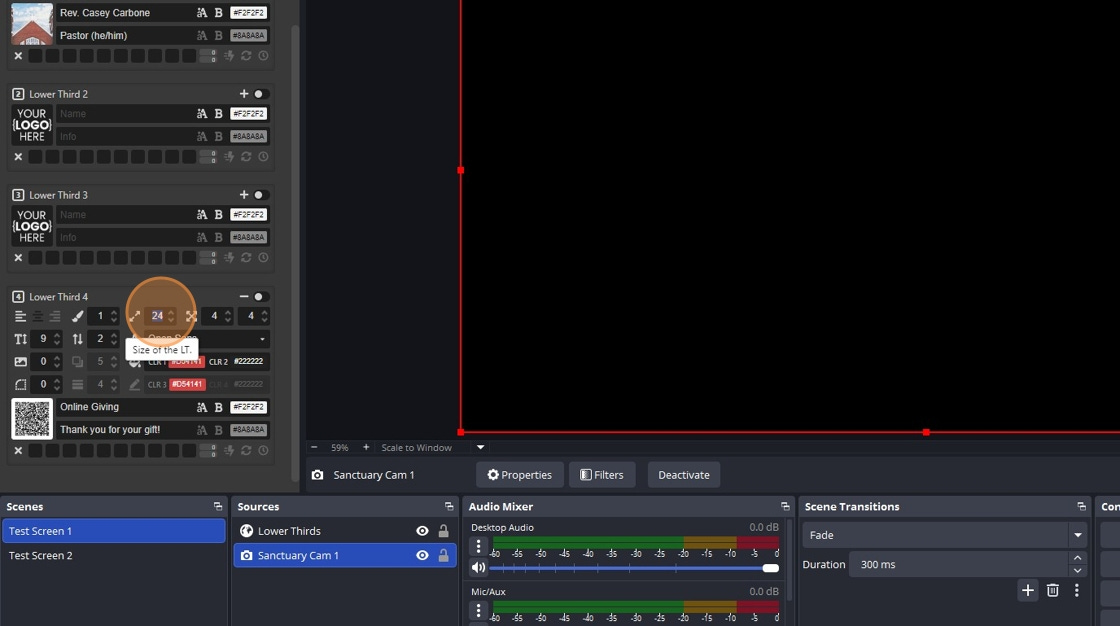
As before, click the “+” icon, then change the default size from “24” to “60.”
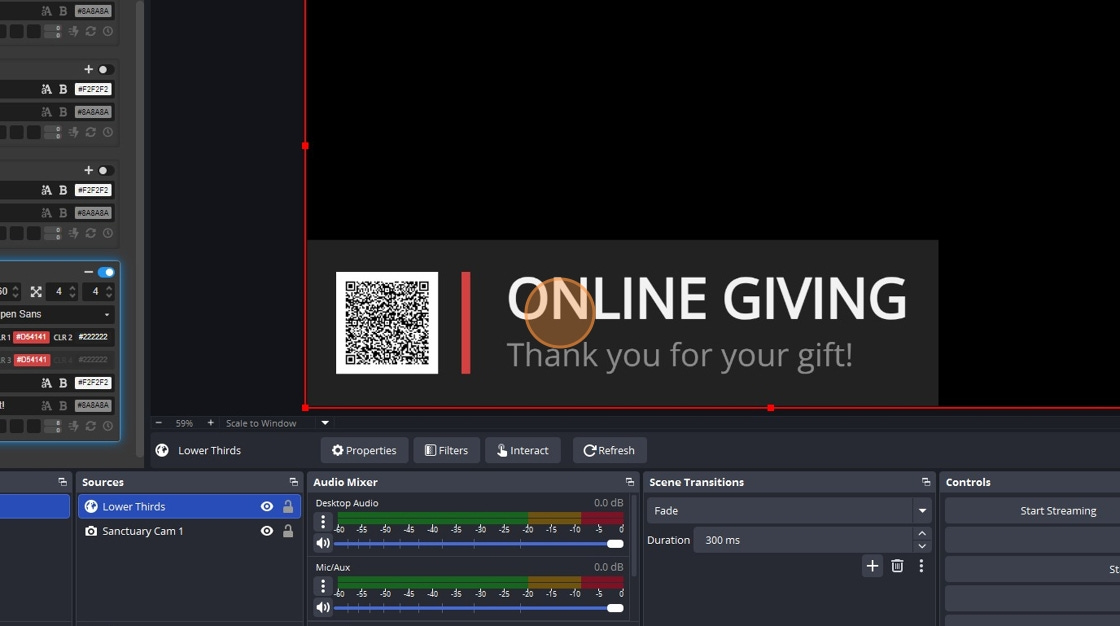
You can see that it appears larger than the others to provide greater clarity for the QR code. After a predetermined time, it will cycle out, or you can end it early by clicking the toggle for “Lower Third 4.”
*If you find this ever-evolving guide helpful, a tip is always appreciated. My hope is to keep these resources free and accessible to churches as they expand their ministry, rather than placing them behind a paywall.
**If you have a topic you would like me to cover in future OBS tutorials, let me know in the comments below.